How to Control Bulk Fermentation for Optimal Flavor and Texture: A Step-by-Step Guide
The Heart of Sourdough Baking
Bulk fermentation is where the happens. It’s the stage where your dough transforms from a simple mix of flour, water, and salt into a flavorful, airy masterpiece. Yet, it’s also where many bakers face challenges—too short, and your bread lacks depth; too long, and it becomes overly sour or collapses.
In this guide, you’ll learn how to master bulk fermentation for sourdough that’s , with an open crumb and rich flavor. Let’s dive in!
What Is Bulk Fermentation?
Bulk fermentation is the first rise of your sourdough dough, occurring after mixing and before shaping. During this phase:
- Yeast and bacteria consume sugars, producing CO₂ (for rise) and .
- Gluten develops, creating the dough’s structure.
- Flavors deepen through enzymatic activity and microbial action.
Why It Matters:
- Flavor: Longer fermentation creates complex, tangy notes.
- Texture: Proper fermentation results in an open, airy crumb.
- Digestibility: Fermentation , making bread easier to digest.
The Science Behind Bulk Fermentation
Key Players in Fermentation
- Yeast: Produces CO₂, causing the dough to rise.
- Lactic Acid Bacteria (LAB): Creates lactic and acetic acid, contributing to sourness and aroma.
- Enzymes: Break down starches into sugars, feeding microbes and developing flavor.
Factors Affecting Fermentation
- Temperature: Warmer dough ferments faster; cooler dough ferments slower.
- Hydration: Higher hydration speeds up fermentation but weakens structure.
- Starter Strength: A ripe, active starter accelerates fermentation.
- Flour Type: Whole grains ferment faster than white flour due to .
Tools You’ll Need for Success
To control bulk fermentation effectively, gather these tools:
- Digital kitchen scale: For precise ingredient measurements.
- Dough scraper: To handle sticky dough during stretch and folds.
- Proofing container: A .
- Thermometer: To monitor dough and ambient temperature.
- Timer: To track fermentation time accurately.
Step 1: Mixing and Autolyse
Mixing the Dough
- In a large bowl, combine 500 grams of bread flour, 350 grams of water (70% hydration), and 10 grams of salt.
- Add 100 grams of ripe sourdough starter (20% of the total flour weight).
- Mix until no dry flour remains. The dough will be shaggy and sticky—this is normal!
Autolyse (30–60 Minutes)
- Cover the bowl and let the dough rest at room temperature.
- Why? to hydrate fully and gluten to begin developing naturally, reducing the need for kneading.
Tip: If your kitchen is warm (above 75°F/24°C), skip adding the starter during autolyse to avoid over-fermentation.
Step 2: Understanding Fermentation Variables
Dough Temperature
- Ideal Range: Aim for a dough temperature of 75–78°F (24–26°C).
- Too Cold (<70°F/21°C): Fermentation slows down; extend bulk fermentation by 1–2 hours.
- Too Hot (>80°F/27°C): Fermentation speeds up; reduce time or cool the dough.
How to Adjust Temperature:
- Use warmer water in colder months or cooler water in summer.
- Place the dough in a for a stable, warm environment.
Hydration
- Lower hydration (65–70%): Ferments slower, easier to handle.
- Higher hydration (75–80%): Ferments faster, results in a more open crumb.
Step 3: Monitoring Dough Temperature
Desired Dough Temperature (DDT)
- Formula: DDT = (Room Temp + Flour Temp + Friction Temp) / 3
- Target: 76–78°F (24–26°C) for balanced fermentation.
How to Measure:
- Use a thermometer to check the dough’s temperature after mixing.
- Adjust the water temperature to hit your DDT.
Example Calculation:
- Room temperature: 72°F (22°C)
- Flour temperature: 70°F (21°C)
- Friction (from mixing): Adds ~5°F (3°C)
- Water temperature needed: ~85°F (29°C) to reach a DDT of 76°F (24°C).
Step 4: Time and Dough Development
Fermentation Time Guidelines
Fermentation time depends on temperature:
- 70–72°F (21–22°C): 5–7 hours
- 75–78°F (24–26°C): 4–5 hours
- 80°F+ (27°C+): 3–4 hours
Signs of Proper Fermentation:
- Volume increase: Dough rises by 30–50%.
- Bubbles: Small to medium bubbles appear on the surface and sides.
- : Dough wobbles like jelly when shaken gently.
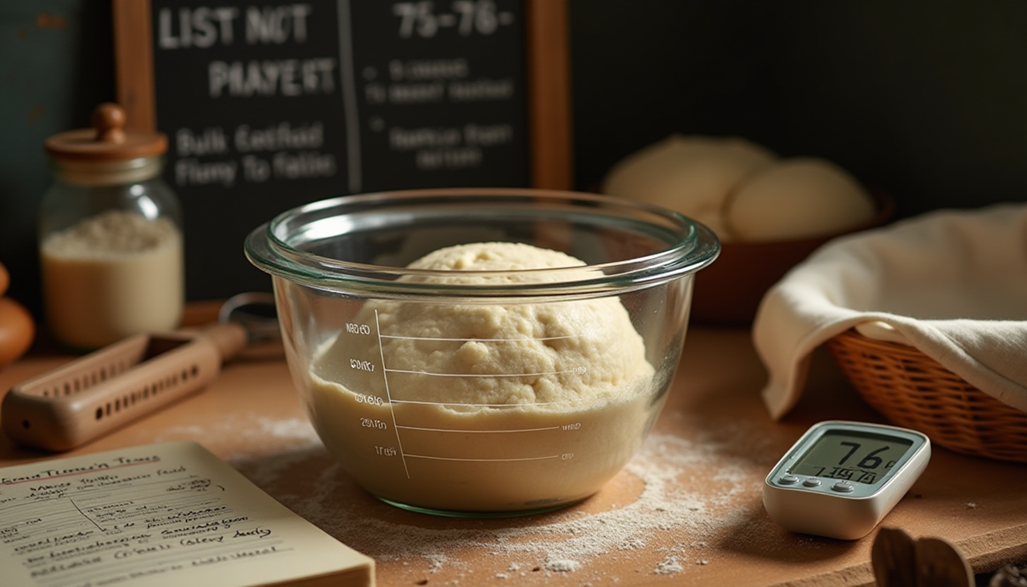
Tip: Use a clear container with volume markers to easily track the dough’s rise.
Step 5: Stretch and Folds for Strength
Why Stretch and Fold?
- Strengthens gluten without kneading.
- Distributes yeast and gases evenly.
- Improves dough structure and elasticity.
How to Perform Stretch and Folds:
- Wet your hands to prevent the dough from sticking.
- Grab one side of the dough, stretch it upward, and fold it over itself.
- Rotate the bowl 90 degrees and repeat, completing a total of 4 folds (one for each "side" of the dough).
- Perform 3–4 sets of stretch and folds, spaced 30 minutes apart.
Visual Guide: [Insert link to a video tutorial]
Step 6: Recognizing When Bulk Fermentation Is Complete
The Poke Test
- Gently poke the dough with a floured finger.
- Underproofed: Dough springs back quickly.
- Perfectly proofed: Dough springs back slowly, leaving a slight indent.
- Overproofed: Dough doesn’t spring back at all.
Other Indicators of Readiness:
- Aroma: Smells .
- Appearance: Surface and sides show even, medium-sized bubbles.
Next Steps:
- If the dough is ready, proceed to shaping.
- If not, extend fermentation in 30-minute increments and retest.
Common Bulk Fermentation Mistakes and Fixes
Dough Didn’t Rise
- Cause: Cold kitchen, weak starter, or insufficient time.
- Solution: Extend fermentation time, use warmer water, or feed your starter to strengthen it.
Dough Collapsed
- Cause: Overproofed or weak gluten structure.
- Solution: Shape the dough immediately and reduce fermentation time next batch.
Dense Crumb
- Cause: Underproofed dough or weak gluten development.
- Solution: Extend fermentation time or add more stretch and folds.
Too Sour
- Cause: Long fermentation or high temperature.
- Solution: Reduce fermentation time or use cooler water.
Flat Loaf
- Cause: Overproofed dough or improper shaping.
- Solution: Shape the dough tighter and reduce fermentation time.
Advanced Tips for Flavor and Texture
- After bulk fermentation, place the dough in the fridge for 8–16 hours.
- Benefits: Deeper flavor, easier handling, and improved crumb structure.
- Mix a portion of flour, water, and starter 12–16 hours before baking.
- Result: More complex flavor and a lighter, airier texture.
Experiment with Flour Blends
- Whole wheat or rye: Adds nutty flavor but ferments faster.
- : Creates a lighter texture with shorter fermentation times.
Conclusion: Mastering Bulk Fermentation
Bulk fermentation is the cornerstone of exceptional sourdough. By controlling temperature, time, and dough strength, you can create loaves with incredible flavor and texture every time.
Final Checklist for Success:
- Mix and autolyse your dough.
- Monitor dough temperature closely.
- Perform stretch and folds for strength.
- Use the poke test to gauge readiness.
- Adjust fermentation time based on your environment.
Now, it’s your turn! Grab your ingredients, follow this guide, and bake your best sourdough yet.
Happy fermenting! 🍞✨