The science behind dough hydration
Key Takeaways
- Dough hydration significantly influences the texture and flavor of the final bread.
- Understanding different hydration levels can help bakers achieve the desired crumb and crust.
- Tools like digital scales and proofing baskets can assist in mastering hydration ratios.
- Experimenting with hydration levels is essential for developing unique artisan bread.
- For beginners, starting with lower hydration can ease the learning curve.
When it comes to baking artisan bread, hydration is one of the most crucial factors to consider. It affects the dough's texture, elasticity, and overall flavor of the bread. In this article, we’ll delve into the science of dough hydration, explore its effects on bread, and share valuable tips on achieving the right consistency in your dough.
What is dough hydration?
Dough hydration refers to the ratio of water to flour in a bread recipe. This ratio directly influences the dough's consistency and, ultimately, the texture of the baked loaf. The hydration percentage is calculated by dividing the weight of the water by the weight of the flour, and then multiplying by 100 to get a percentage.
| Hydration Level | Water (grams) | Flour (grams) | Hydration Percentage |
|---|---|---|---|
| Low (50%) | 500 | 1000 | 50% |
| Moderate (65%) | 650 | 1000 | 65% |
| High (75%) | 750 | 1000 | 75% |
The impact of hydration on bread
The level of hydration in your dough has several effects on the bread-making process:
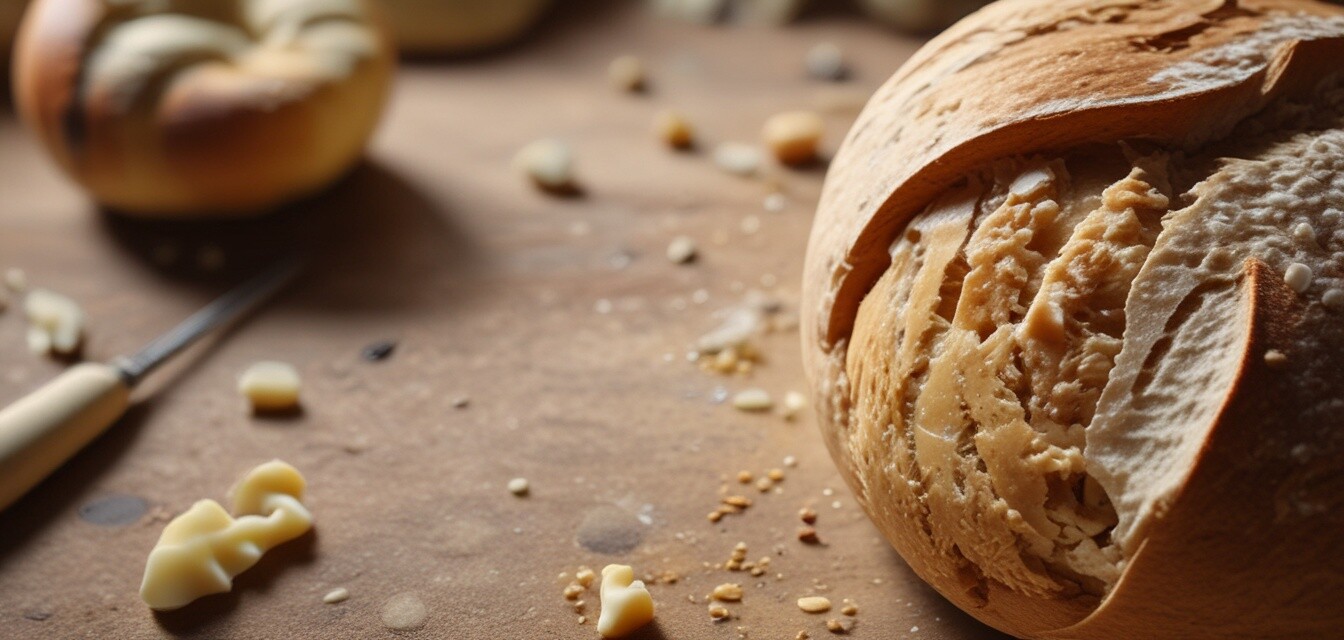
1. Crumb Structure
Higher hydration levels typically result in an open crumb structure with larger holes, giving an airy texture. Lower hydration leads to tighter, more compact crumb.
2. Crust Quality
A well-hydrated dough can create a crispy crust due to steam produced during baking. Lower hydration can yield a softer crust, which some bakers may prefer.
3. Flavor Development
Hydration also plays a role in the fermentation process. More water allows for better enzyme activity, which contributes to flavor development.
Tips for achieving the right consistency
Beginners Section
- Start with a lower hydration level (around 60%) to familiarize yourself with dough handling.
- Use digital scales for precise measurements. Even small variations can affect hydration!
- Monitor the dough’s consistency. It should be tacky but not overly sticky to the touch.
- Practice kneading techniques. A well-kneaded dough will develop gluten, making it easier to handle.
- Utilize proofing baskets to shape your dough while maintaining its hydration.
Testing different hydration levels
Once you’re comfortable with lower hydration doughs, consider experimenting with various hydration levels. Keep notes on your bakes to track how changes affect your results. Here’s a simple plan:
- Choose a base recipe for your bread.
- Start from a baseline hydration (e.g., 65%) and adjust by increments (e.g., 5% up or down).
- Bake a new loaf at each level, noting the differences in texture and flavor.
- Share your findings with fellow bakers to enhance your learning experience!
Conclusion
Understanding the science of dough hydration is essential for mastering artisan bread baking. By adjusting hydration levels, you have the power to influence the flavor, texture, and appearance of your bread. Don’t be afraid to experiment, and remember—practice makes perfect!
Pros
- Better flavor development with higher hydration.
- Airy crumb structure is easier to achieve.
- Increased crust quality due to steam during baking.
Cons
- High hydration doughs can be tricky to handle.
- Requires precise measuring tools.
- Beginners might find it challenging without practice.
For more in-depth information on bread baking techniques, check our Baking Tips and Techniques category. Experiment with our digital scales for accurate measurements, and don’t forget to explore our proofing baskets for perfect dough shaping!